It's your key to unlockng the full potential of this exciting new web based visualization tool from Acme Brick Company.

- 1. Acme Brick Co. web site link
- 2. Navigation Bar -All of the Virtual Mason functions/tools are accessed through these buttons.
- 3. Search Bar -You can search for specific products, sizes, textures or plants.
- 4. Material Lists -You can scroll and select products from these buttons.
- 5. House View/Build Area -This is the house viewing area where you can view different brick products, roof colors, mortar colors, etc...
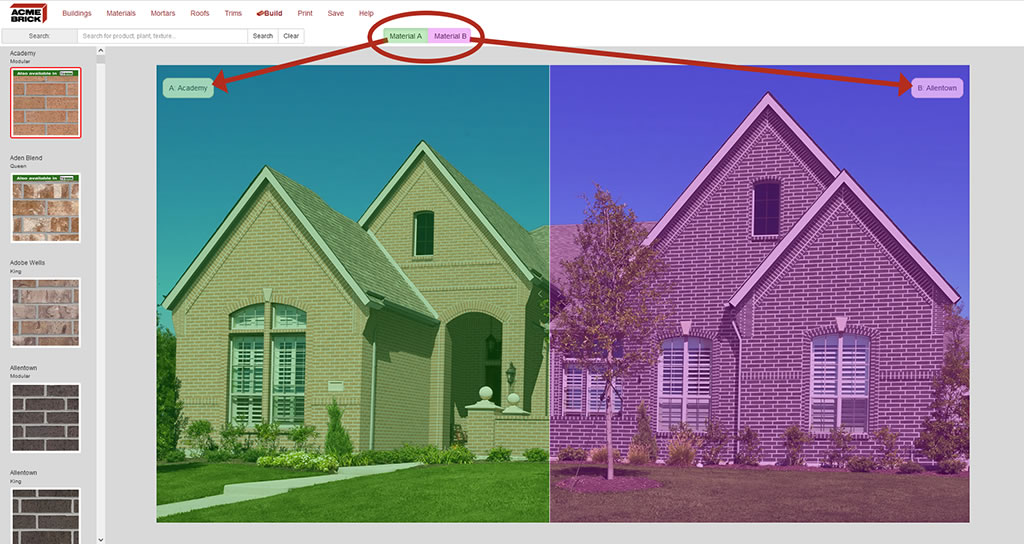
- 6. Compare Function A/B Material Toggle -This toggle button controls which side of the house is changed with your custom selections.
1. Acme Brick Link

The upper left logo will take you directly to the Acme Brick website, brick.com. From there you can explore all building products that Acme has to offer.
2. Navigation Bar

This group of buttons is the navigation bar for all the functions of the Virtual Mason. These functions include: Change house elevation, a new material, choose a new mortar color, change the products on the house image, print a visualization, and custom pdfs for your saved house design. Click Navigation Features to learn how to use each feature.
3. Search Bar

The search bar allows you to search for specific Acme products. If you know the name of the brick product you are looking for, type it into the search. Results will appear in the left column of buttons. You can also search by these keywords:
- Brick Name
- Brick Size
- Brick Texture
- Brick Plant
4. Material Lists
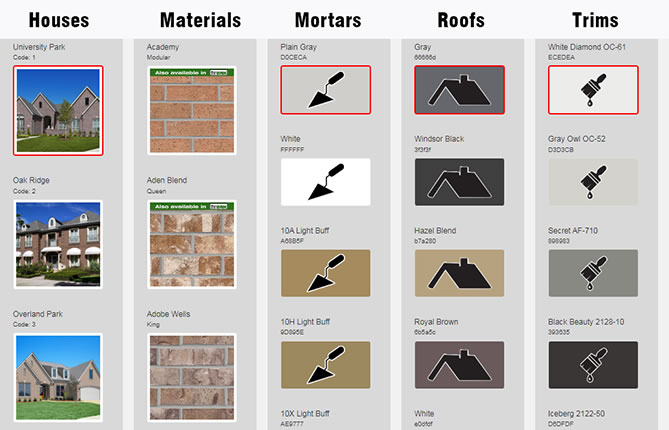
Click the 'Materials' button in the choose bar for a list of all the available Acme Brick: King, Queen, Modular, Estate and Utility sizes to view on your selected house image in. When a thin rick version is available, this will be noted on the material button. You can also change other aspects of the house: mortar colors, trim/paint colors, and roof color. If you click any of these navigation buttons, a list of materials will appear in the button list next to the house viewimg area.
5. House View/Build Area
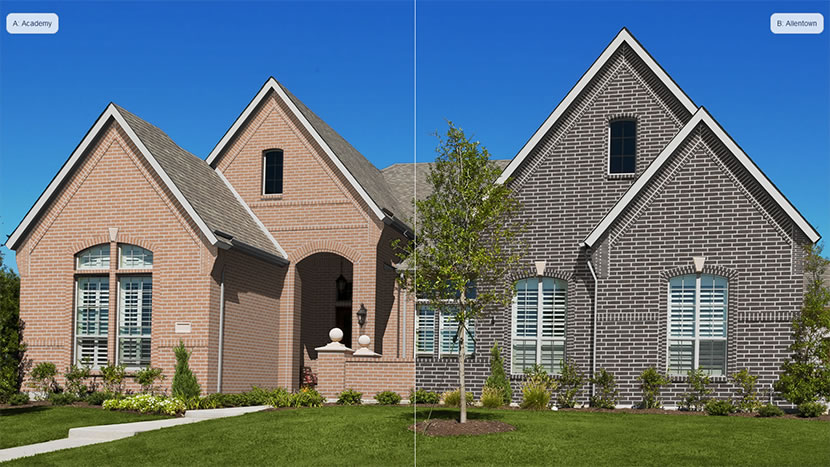
Think of this area as a 'canvas.' You will see all changes to your house in this area. When the program opens, you will see a line through the middle of the image. There will be a different brick built on each side of the house. This is the 'compare function'. One side is labeled 'A' and the other side is labeled 'B'. You will see the name of the brick material in the upper corner. You can grab the line in the middle and slide it left to right to expose more of either side. This function allows you to to compare different products against each other to help you make your building material choices.
6. Compare Function A/B Material Toggle
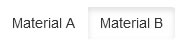
This toggle button, located above the house image area, allows you to switch back and forth between changing the materials for each side of the house image. The 'A' side will alter the left side of the house image. The 'B' side will alter the right side of the house image.