New Wall
You can create a custom size wall in the Masonry Designer. Click the 'New Wall' button. You will see a pop-up window with size and bond pattern options. You can input numbers for the 'Width' and 'Height' of the wall in units (bricks), select the bond type and click build. Your new wall will automatically build in the wall view area. From there you can continue to customize your new wall. You can choose from a wide range of mortar colors and even add soldier/header units.
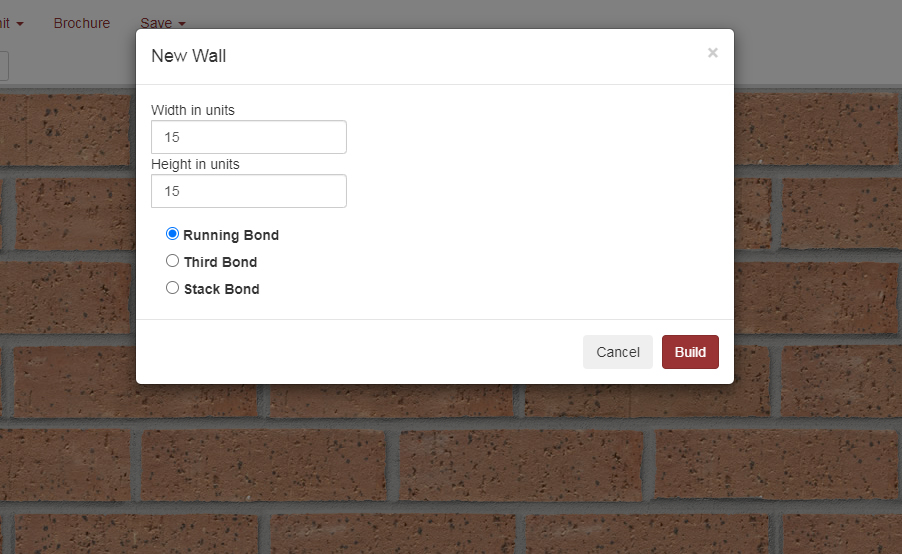
The Masonry Designer can build your custom wall in 3 'Bond Patterns':
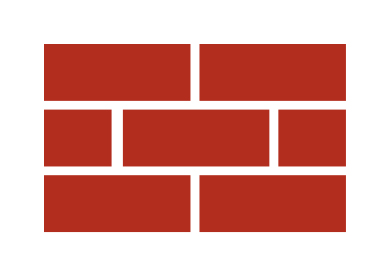
Running Bond- A masonry bond in which each brick is laid as a stretcher offset by 1/2 a brick per course.
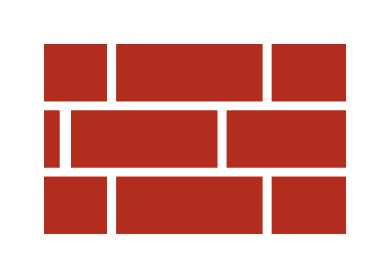
1/3 Bond- A masonry bond in which each brick is laid as a stretcher offset by 1/3 of a brick per course.
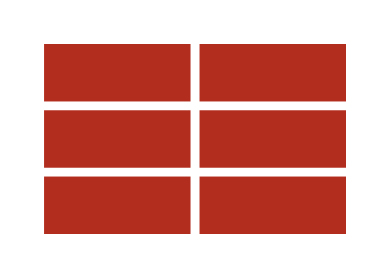
Stack Bond- A masonry bond in which bricks are stacked on top of one another, resulting in continuous horizontal edge joints and vertical head joints.